
Use case
Edit Contractor Before-and-After Photos with AI
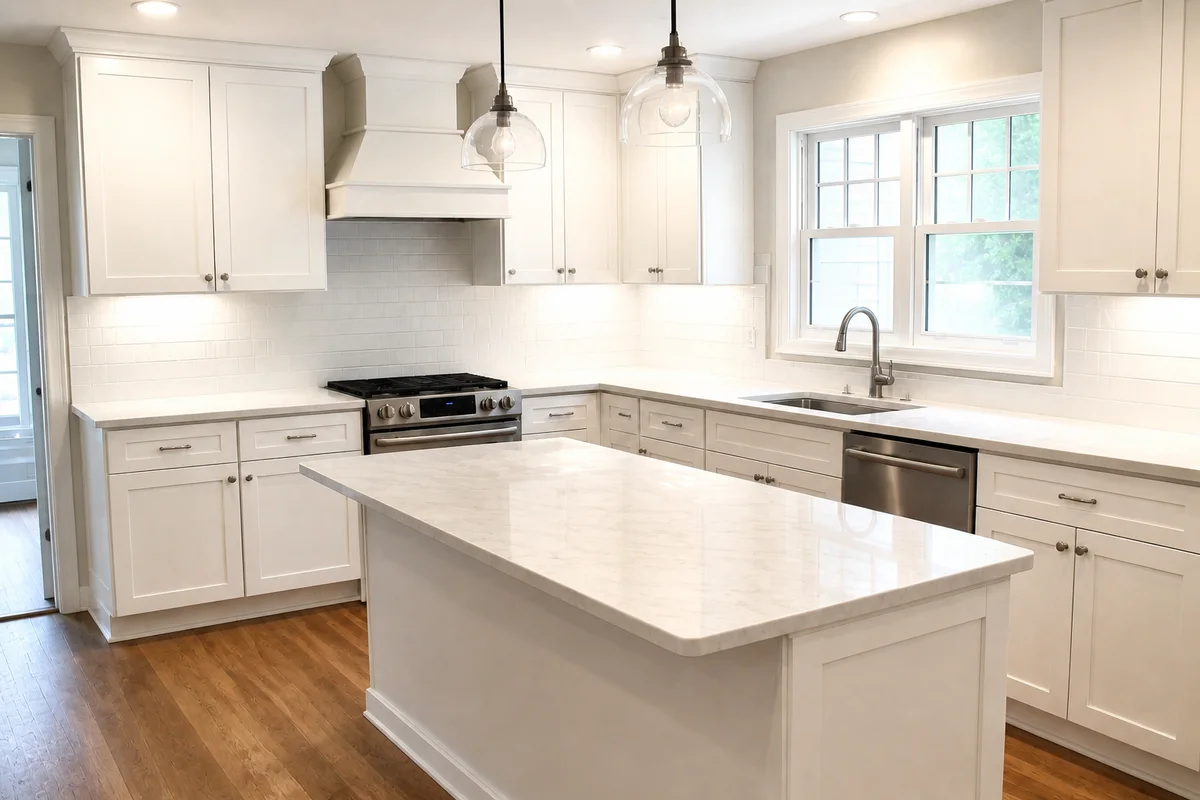
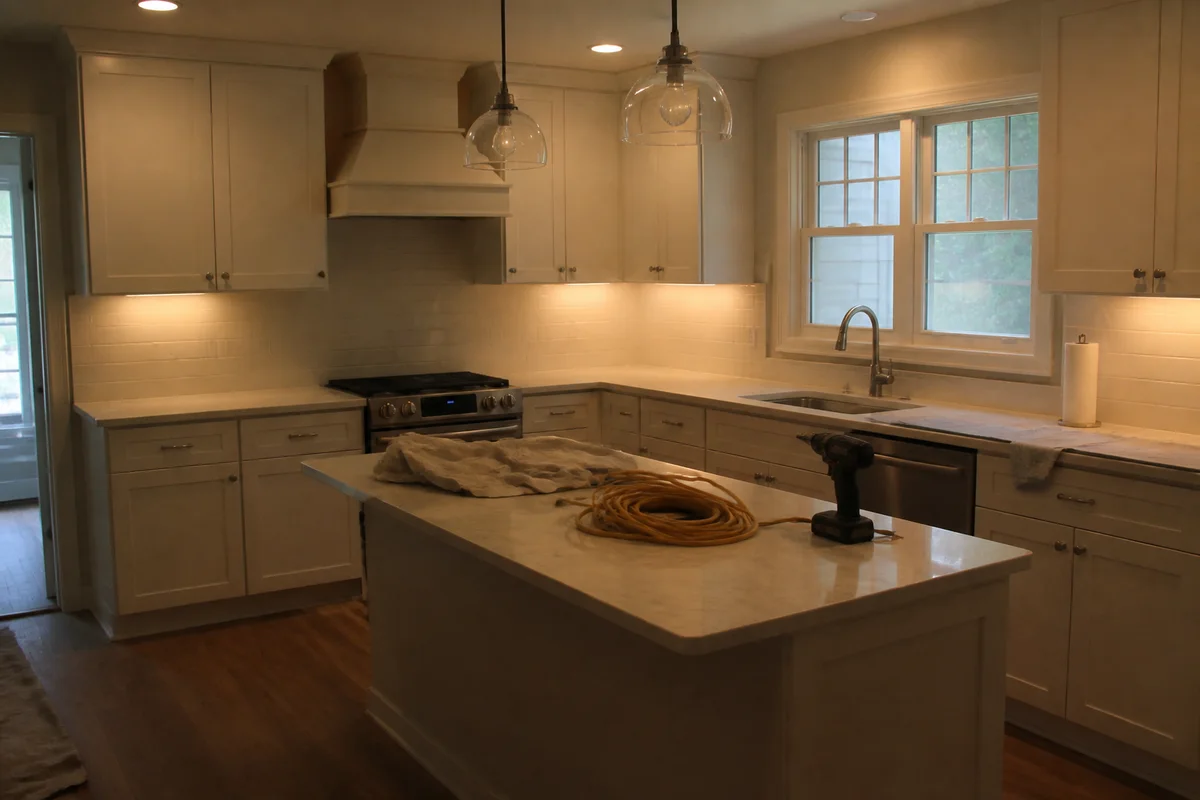
The workflow in action — drag to compare.
Before-and-after pairs are the strongest marketing a contractor has — and the least fair comparison photography produces. The before gets shot in a dim, cluttered space at walkthrough; the after gets shot the day of final cleanup, often in different weather, different light, and with a drop cloth and shop vac still in the corner. The renovation is dramatic; the photos muddle it.
AI editing makes the pair tell the true story clearly. Match the lighting and color between before and after so the comparison is apples to apples, remove the remaining tools and debris from the final shots, brighten the after so the finished space reads the way it feels, and frame both shots to the same composition so the eye goes straight to what changed.
One rule is absolute and works in your favor: never edit the workmanship itself. A crisp, well-lit photo of real work builds the trust that closes estimates — and edited work gets discovered at the walkthrough.
The problems this solves
- Befores and afters get shot months apart in unmatched light.
- Final photos still contain tools, cords, and cleanup gear.
- Dim job-site photos hide finish quality clients are paying for.
- Unmatched framings make transformations hard to read.
A workflow that works
Match the pair's lighting
Equalizing brightness between before and after makes the renovation — not the weather — the visible difference.
AI Lighting ChangerClear the remaining gear
The shop vac, cords, and drop cloths leave the final shots so the finished space stands alone.
AI Object RemoverMatch the color treatment
Consistent color across the pair keeps the comparison fair and makes new finishes read accurately.
AI Color CorrectionFrame both shots identically
Same angle, same crop — the discipline that makes a before-after pair land instantly.
AI Photo ReframeSharpen the finish details
Tile lines, trim joints, and countertop seams are the proof of craftsmanship; they should be crisp at zoom.
AI Image SharpenerFrequently asked questions
What should never be edited in contractor photos?
The work. Never clean up joints, straighten lines, or hide flaws in photos — clients compare photos to reality at the walkthrough, and misleading photos of workmanship are a reputation and liability problem. Edit light, clutter, and framing only.
How do I shoot befores that make good pairs?
Take befores from doorways and corners you can stand in again after the job, note or mark the spots, and shoot wide. The after shot from the same position is what makes the pair — editing handles the light differences.
Our finals always have some gear still in them. Is that fixable?
Yes — object removal cleanly clears tools, cords, and cleanup equipment from finished-space photos. It's faster than staging the site twice and lets crews shoot finals the moment work completes.
Where do before-after pairs work hardest?
Estimates and proposals first — showing a comparable past project closes work. Then the website gallery, local-services profiles, and neighborhood social groups where homeowners actively look for proof.
Related use cases